
 |
| Final outcome. |
This is step by step instructions for
making an origami crane. I created a card using the crane I made.
This probably isn't best for a beginner!
Preparations,
I used a magazine because I like the ununity, and how its different to standard origami paper, plus this magazine always has interesting bright pages.


Step 1: I rip the front page from the magazine and measure out a square by folding a triangle, I then cut the remaining paper off and discard.
 |
| I neaten up any ragged edges. |

 Step 2: I fold the paper diagonally in half both ways and vertically in half both ways.
 Step 3: Fold/collapse the paper, using the creases you've just made, into a square (square base)
 Step 4: Fold the edges into the centre creating a diamond creasing well. Fold down the top point creasing well, unfold. Repeat on other side
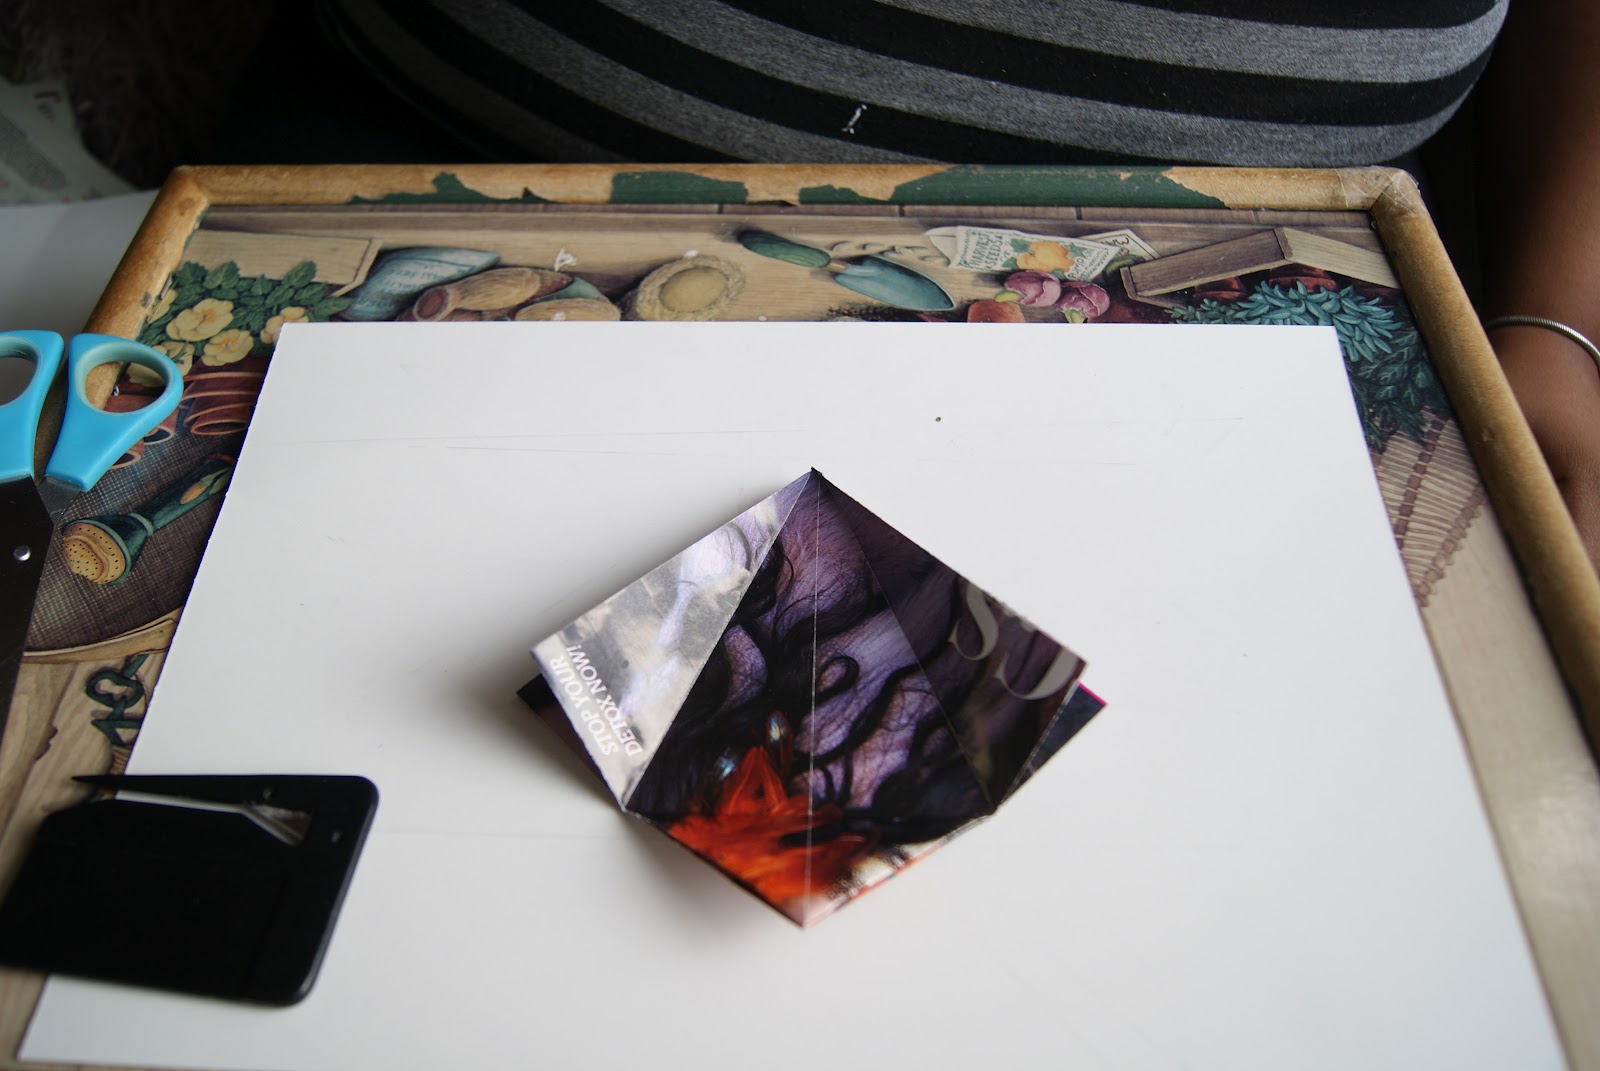
 Step 5: After unfolding, pull up the flap creating the bird base. This should be easy to do.
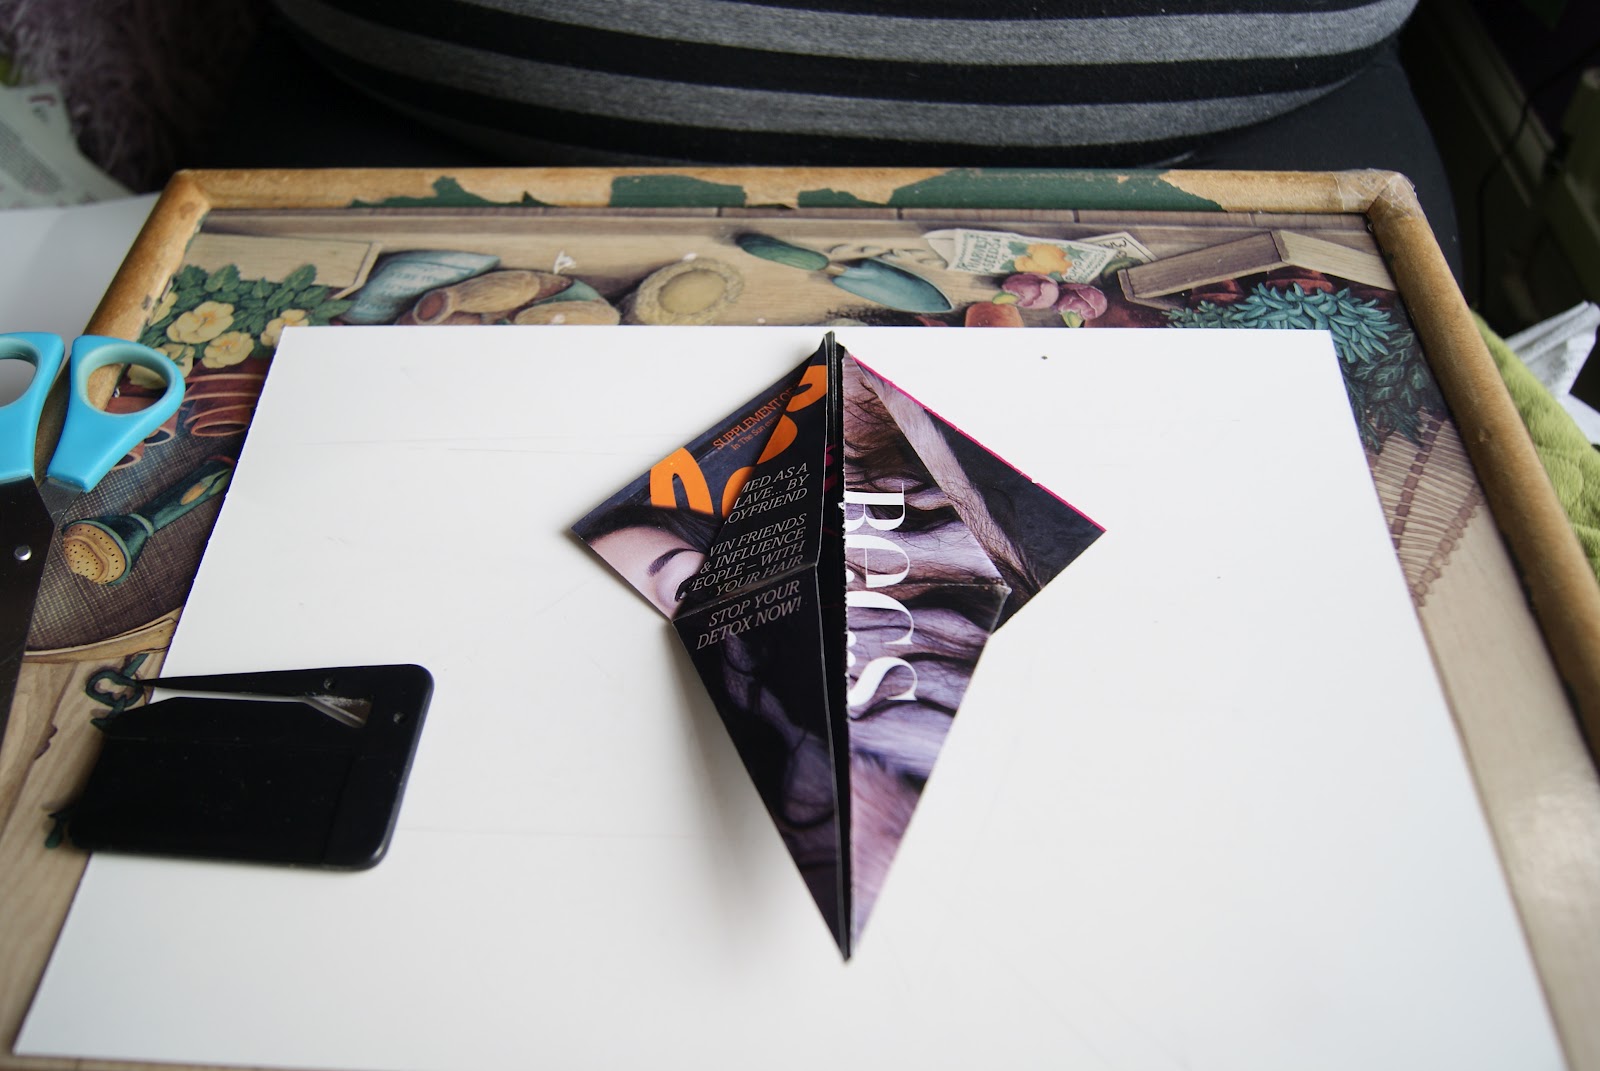
 Step 6: Repeat on the other side and you have succesfully created the bird base.

Step 7: Fold the tips in one more time, again creating a kite, repeat on both sides. Then pick up the item and hold one of the tips prying it open, you then want to push the tip away from you (reverse fold)

 Step 8: Squash and straighten out the 'tail' which you just made, adjust to which angle you want it at.
 Step 9: Repeat on the other side it will look like a kind of crown! I then fold a head at the tip of one of the 'tails' this is created by prying it open slightly and pushing it away from you like you did when creating the 'tails'.
 Step 10: Fold down the wings and you have created your Origami Crane!
Bonus Step:

 If you want to create a card just simply glue the back of your crane and position and stick it however you like.


